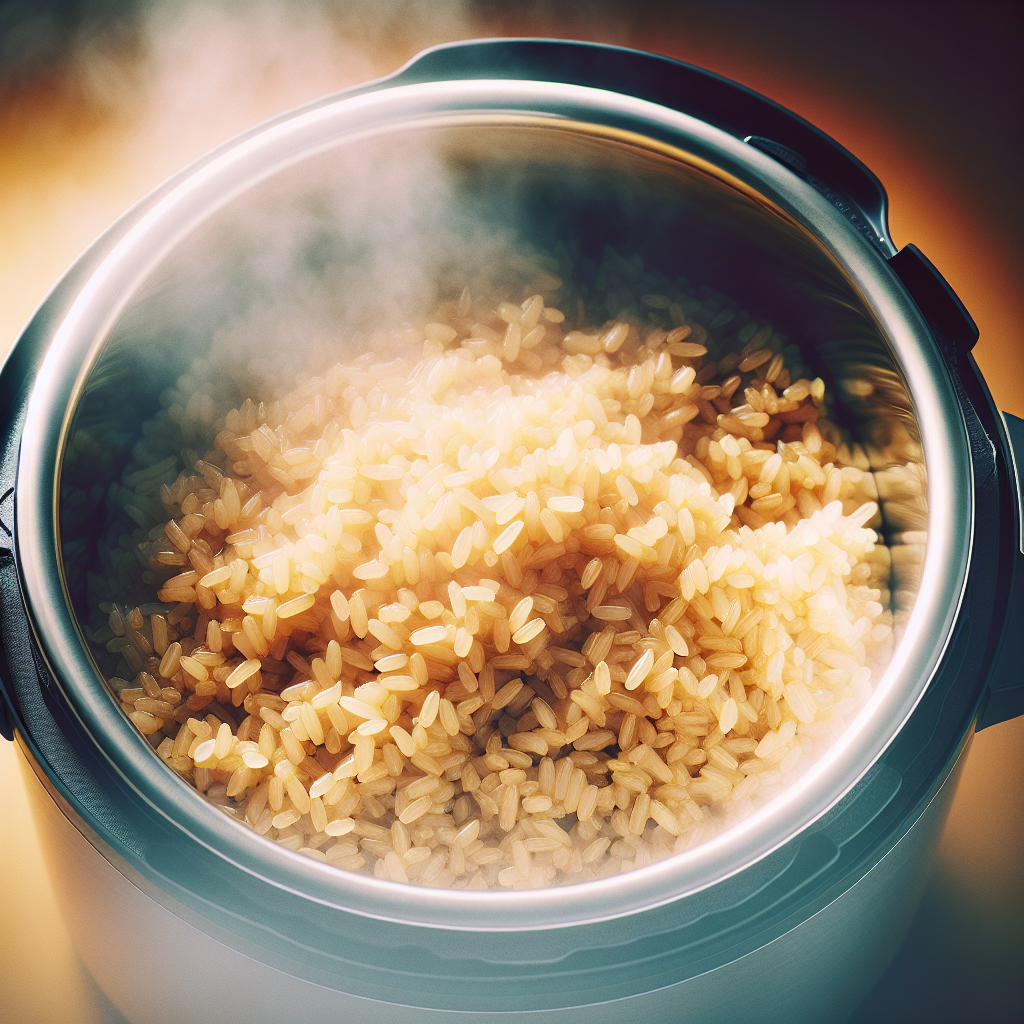
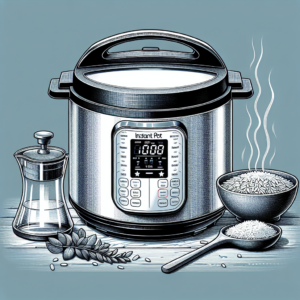
Are you tired of soggy or undercooked brown rice? Look no further – we have the perfect solution for you! In this article, we will show you the step-by-step guide on how to cook brown rice in an Instant Pot. With our foolproof method, you’ll be able to achieve perfectly cooked, fluffy brown rice every time. Say goodbye to mushy grains and say hello to flavorful and nutritious brown rice that will leave you wanting more. Get ready to impress your friends and family with your newfound cooking skills!
Choosing the Right Type of Brown Rice
When it comes to cooking brown rice, it’s important to choose the right type of rice for your desired outcome. There are three main varieties to choose from: long-grain, medium-grain, and short-grain brown rice.
Long-Grain Brown Rice
Long-grain brown rice is known for its slender grains that remain separate and fluffy when cooked. This type of brown rice is ideal for dishes like pilafs, stir-fries, and salads. It has a slightly nutty flavor and a chewy texture, making it a versatile choice for various recipes.
Medium-Grain Brown Rice
Medium-grain brown rice has a shorter, plumper grain compared to long-grain rice. It has a sticky texture when cooked, which makes it perfect for dishes that require a stickier consistency, such as sushi or rice pudding. The grains hold together well, giving your dishes a satisfying mouthfeel.
Short-Grain Brown Rice
Short-grain brown rice has the shortest and roundest grains among the three varieties. It has a high starch content, which gives it a creamy texture when cooked. Short-grain brown rice is commonly used in dishes that require a stickier consistency, such as risotto or rice-based desserts.
Preparing the Brown Rice
Properly preparing your brown rice before cooking it can help ensure that it turns out perfectly every time. Here are the steps to follow:
Rinsing the Rice
Rinsing brown rice before cooking is essential to remove any excess starch and impurities. Place the desired amount of rice in a fine-mesh sieve and rinse it under cold running water until the water runs clear. This will help prevent the rice from clumping together during cooking.
Soaking the Rice (Optional)
Soaking brown rice before cooking is an optional step, but it can help reduce the cooking time and make the rice easier to digest. To soak the rice, place it in a bowl and cover it with water. Let it soak for at least 30 minutes or up to overnight. After soaking, drain the rice thoroughly before cooking.
Draining the Rice
After rinsing or soaking the brown rice, it’s crucial to drain it well to remove any excess water. A good tip is to let the rice sit in the sieve or colander for a few minutes to allow the excess water to drain completely. This will prevent the rice from becoming mushy during cooking.
Determining the Rice-to-Water Ratio
To achieve perfectly cooked brown rice, it’s important to use the correct rice-to-water ratio. The amount of water needed may vary depending on the type of brown rice you are cooking. Here are the ratios to follow:
Ratio for Long-Grain Brown Rice
For every cup of long-grain brown rice, you’ll need approximately 1 and ¾ cups of water. This ratio will result in fluffy and separate grains of rice.
Ratio for Medium-Grain Brown Rice
For every cup of medium-grain brown rice, use 1 and ½ cups of water. This ratio will yield a slightly stickier consistency compared to long-grain rice.
Ratio for Short-Grain Brown Rice
For every cup of short-grain brown rice, you’ll need 1 and ¼ cups of water. This ratio will give you a creamier texture, perfect for dishes that require a stickier consistency.
Adding Flavors and Seasonings
While brown rice has a delicious nutty flavor on its own, you can enhance its taste by adding flavors and seasonings during the cooking process. Here are a few options:
Salt
Adding a pinch of salt to the cooking water can help enhance the overall flavor of the brown rice. Be sure to taste the rice after it’s cooked and adjust the seasoning accordingly.
Herbs and Spices
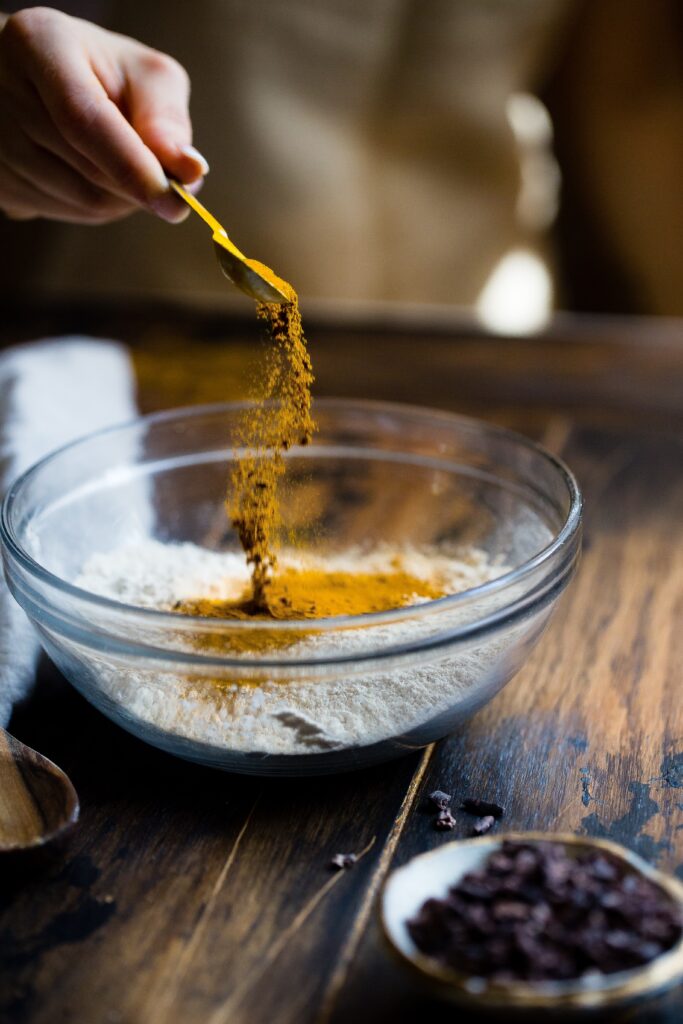
You can infuse your brown rice with herbs and spices to give it a unique and aromatic flavor. Some popular options include adding a bay leaf, a cinnamon stick, or a pinch of dried herbs like thyme or rosemary to the cooking water. Experiment with different combinations to find your favorite flavor profile.

Using the Instant Pot to Cook Brown Rice
The Instant Pot is a versatile kitchen tool that can make cooking brown rice a breeze. Here’s how to use it:
Adding the Brown Rice and Liquid
Start by adding the desired amount of brown rice to the Instant Pot inner pot. Measure the appropriate amount of water based on the rice-to-water ratio discussed earlier. Pour the water over the rice, ensuring that all the grains are submerged.
Setting the Instant Pot
Secure the Instant Pot lid and set the pressure release valve to the “Sealing” position. Select the appropriate cooking setting for brown rice on your Instant Pot. This may vary depending on the model, so refer to the manufacturer’s instructions for specific settings.
Natural Release vs. Quick Release
Once the Instant Pot has finished cooking the brown rice, you have the option of using either the natural release or quick release method to release the pressure. Natural release involves allowing the pressure to release on its own, which can take about 10 to 15 minutes. Quick release involves manually venting the pressure by turning the pressure release valve to the “Venting” position. Be cautious of the hot steam during this process.
Cooking Times for Brown Rice
The cooking time for brown rice can vary depending on the type of brown rice and the cooking method used. Here are guidelines for achieving different textures:
Soft and Slightly Sticky Brown Rice
For soft and slightly sticky brown rice, cook it in the Instant Pot on the appropriate setting for approximately 20 to 22 minutes, followed by a natural release. This cooking time is suitable for medium-grain and short-grain brown rice.
Fluffy and Separated Brown Rice
To achieve fluffy and well-separated brown rice, cook it in the Instant Pot on the appropriate setting for approximately 22 to 25 minutes, followed by a natural release. This cooking time is recommended for long-grain brown rice.
Tips for Perfect Brown Rice in the Instant Pot
Here are some additional tips to ensure your brown rice turns out perfectly every time:
Adjusting Cooking Time for Soaked Rice
If you soaked the brown rice before cooking, you can reduce the cooking time by a few minutes since the rice has already absorbed some water during soaking. Keep an eye on the rice and adjust the cooking time accordingly to prevent overcooking.
Letting the Rice Rest
After the cooking process, allow the brown rice to rest in the Instant Pot for a few minutes before opening the lid. This helps the grains settle and absorb any excess moisture, resulting in a better texture.
Fluffing the Rice with a Fork
Once you open the Instant Pot lid, use a fork to gently fluff the rice. This will help separate the grains and make the rice lighter and more visually appealing.
Troubleshooting Common Issues
While cooking brown rice in the Instant Pot is generally straightforward, you may encounter some common issues. Here’s how to troubleshoot them:
Burn Message
If you receive a burn message on your Instant Pot while cooking brown rice, it means that the rice has stuck to the bottom of the pot and is burning. This can happen if there isn’t enough liquid in the pot or if the rice is cooked at too high a temperature. To resolve this issue, carefully release the pressure, open the pot, and check the rice. If it’s salvageable, transfer it to a new pot and add additional liquid before continuing the cooking process.
Undercooked Rice
If your brown rice turns out undercooked after following the recommended cooking time, you can easily fix this by returning the rice to the Instant Pot and adding a little more liquid. Close the lid and cook it for an additional few minutes, then check for doneness.
Overcooked or Mushy Rice
Overcooked or mushy brown rice can result from using too much water or cooking for too long. To salvage overcooked rice, you can try draining any excess liquid and gently fluffing the rice with a fork. For future batches, ensure you are using the correct rice-to-water ratio and adjust the cooking time accordingly.
Storing and Reheating Brown Rice
If you have leftover cooked brown rice, it’s important to store it properly to maintain its quality. Here’s how:
Properly Storing Cooked Brown Rice
Allow the cooked brown rice to cool completely before transferring it to an airtight container. Store it in the refrigerator for up to four to five days. Be sure to check for any signs of spoilage before consuming.
Reheating Leftover Brown Rice
To reheat leftover brown rice, you can use the Instant Pot’s “Saute” function or steam it using a steamer basket. You can also microwave it by adding a splash of water or broth to prevent it from drying out. Stir the rice gently to distribute the heat evenly and ensure it reheats thoroughly.
Variations and Additions to Brown Rice
While brown rice is delicious on its own, you can get creative and add various ingredients to elevate its flavor. Here are a few ideas to try:
Vegetable-Packed Brown Rice
Add a colorful array of vegetables, such as bell peppers, carrots, and peas, to your brown rice during the cooking process. This not only adds flavor but also makes the dish more visually appealing and nutritious.
Coconut Brown Rice
For a rich and creamy twist, cook your brown rice with coconut milk instead of water. This adds a subtle sweetness and aroma that pairs well with a variety of dishes, especially those with an Asian or tropical flair.
Mexican-Inspired Brown Rice
Add a touch of Mexican cuisine to your brown rice by incorporating ingredients such as diced tomatoes, onions, garlic, and spices like cumin and paprika. This simple addition can transform your brown rice into a flavorful side dish for tacos, burritos, or enchiladas.
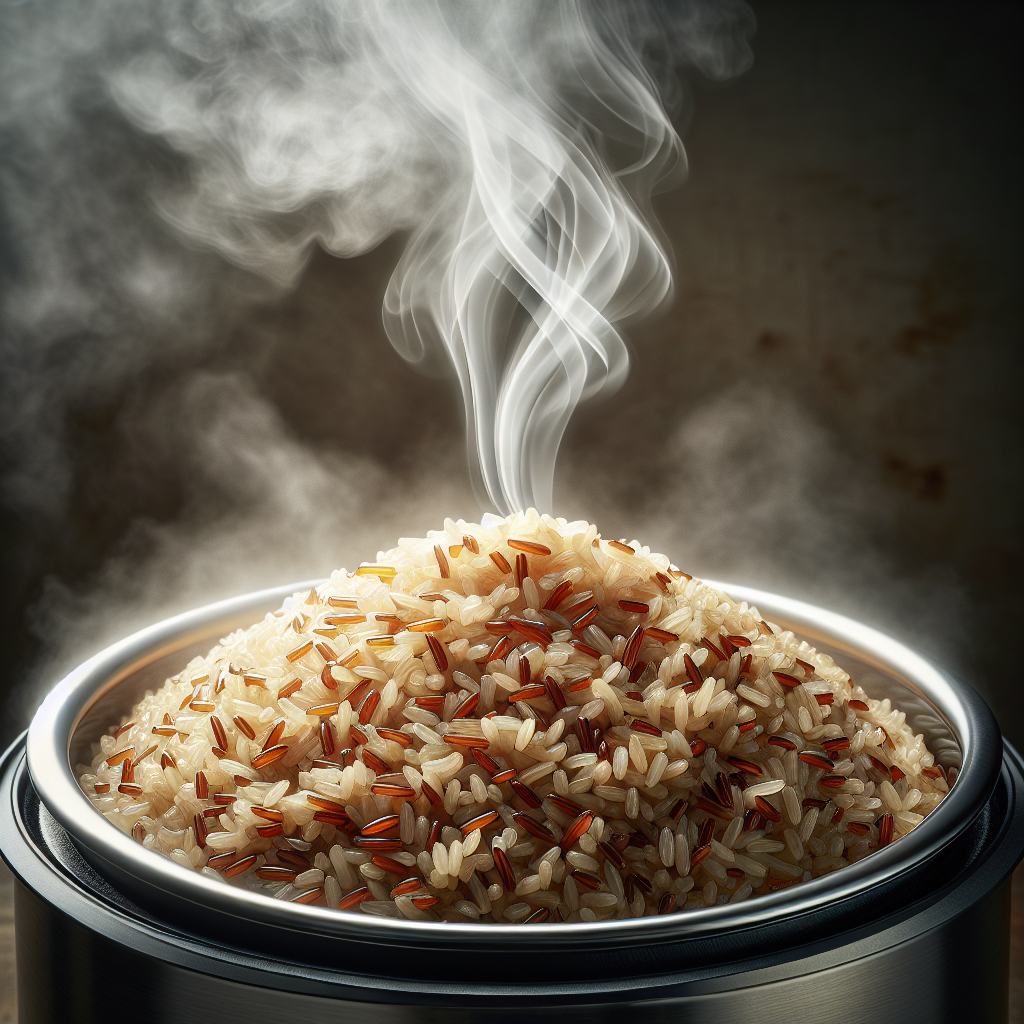
In conclusion, cooking brown rice in the Instant Pot is a convenient and efficient way to enjoy this nutritious grain. By selecting the right type of brown rice, following proper preparation techniques, and utilizing the Instant Pot’s features, you can achieve perfectly cooked brown rice every time. Don’t be afraid to experiment with flavors, add-ins, and variations to make your brown rice dishes even more delicious and enjoyable. Happy cooking!

