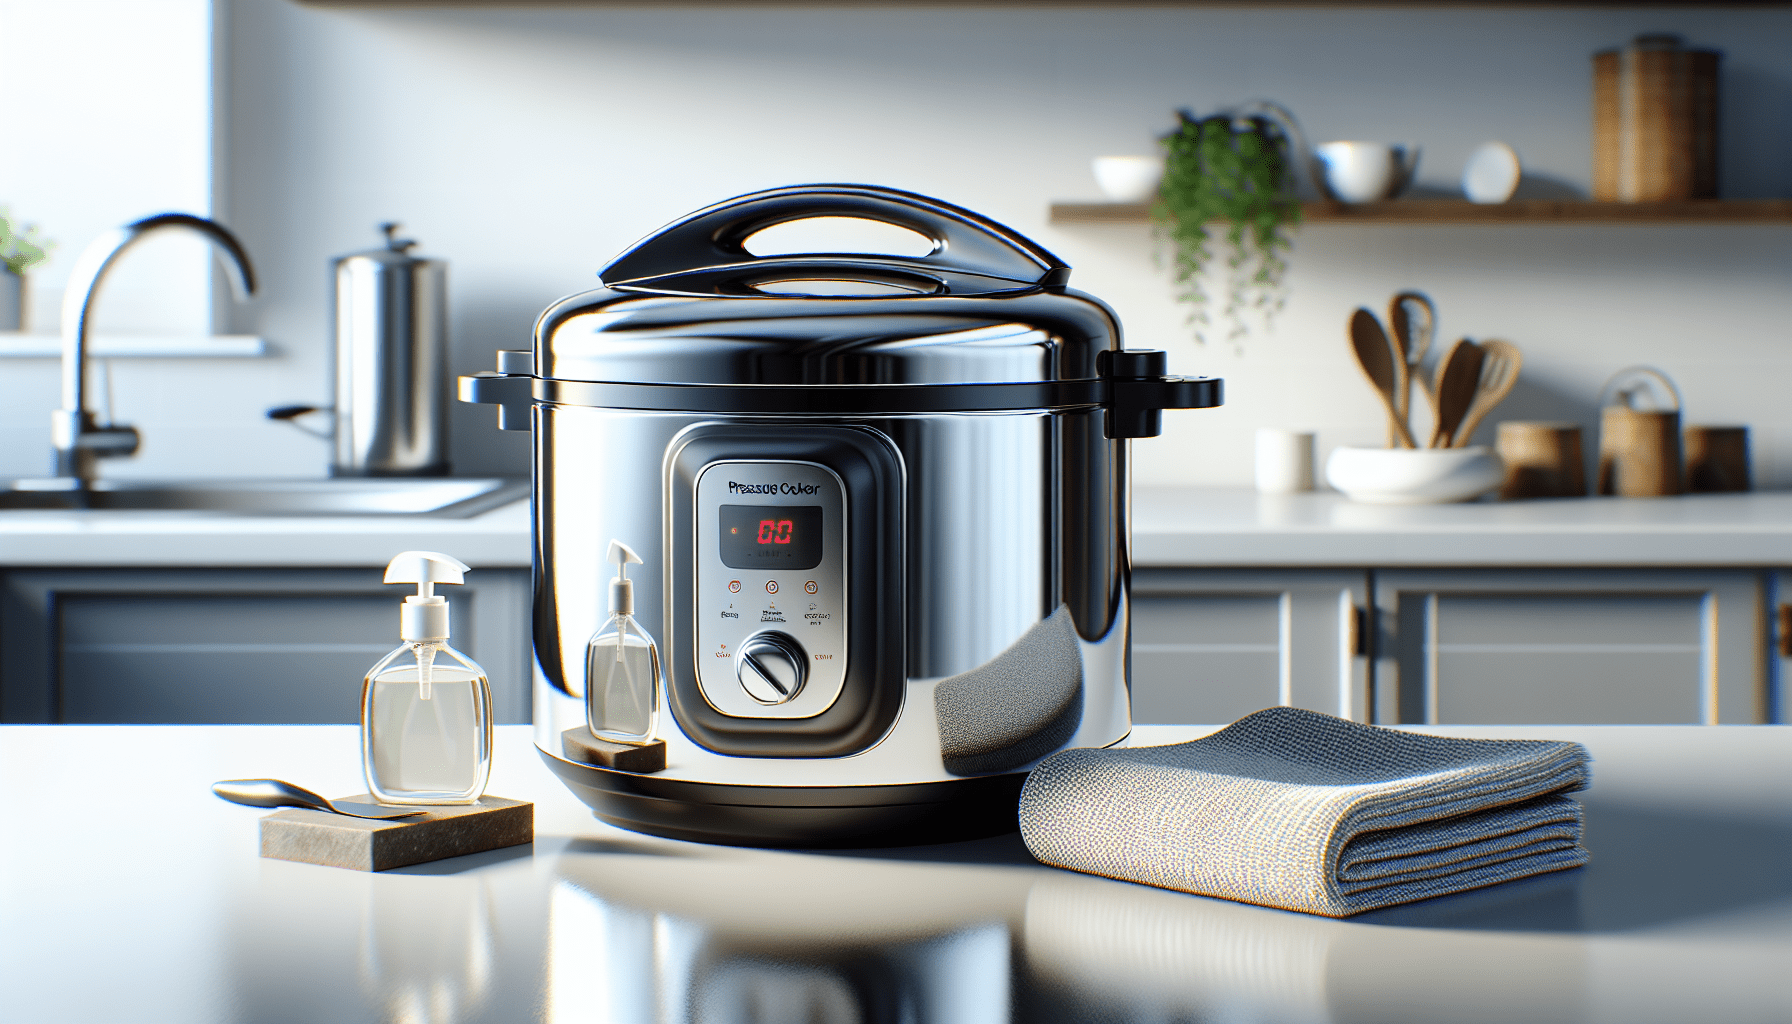
Welcome to “How to Clean and Maintain Your Instant Pot!” Your Instant Pot is a versatile kitchen marvel, and keeping it in top shape ensures you can continue to whip up delicious meals with ease. In this guide, you’ll discover straightforward steps to clean every part of your Instant Pot, from the inner pot to the sealing ring, and simple maintenance tips to extend its lifespan. With just a little routine care, you’ll keep your trusty appliance sparkling and functioning like new, meal after meal. Have you ever wondered how to keep your Instant Pot in tip-top shape for years to come? Whether you’re a novice user or an experienced home chef, maintaining and cleaning your Instant Pot isn’t as daunting as it might seem. This comprehensive guide will show you everything you need to know to keep your Instant Pot clean and working efficiently. Let’s dig in!
Why Cleaning and Maintenance Are Crucial
Extending Lifespan
Proper cleaning and maintenance extend the lifespan of your Instant Pot. Like any kitchen appliance, regular care keeps it functioning optimally, minimizing wear and tear.
Ensuring Safety
Clean equipment is safer to use. Residue build-up can cause malfunctions or even safety hazards, so regular maintenance ensures you can cook without worry.
Enhancing Performance
A well-maintained Instant Pot will perform better, cooking your meals more evenly and efficiently. Imagine enjoying consistently perfect results, all thanks to a little bit of TLC!
Daily Cleaning Steps
Cool Down First
Always let your Instant Pot cool down after each use. This prevents burns or accidents when cleaning.
Unplug the Pot
Safety first! Unplug your Instant Pot before starting your cleaning routine. This precaution avoids the risk of electrical shock.
Remove and Clean the Inner Pot
Take out the inner pot and wash it with warm, soapy water. Be sure to use a non-abrasive sponge to avoid scratches and maintain the non-stick coating.
Wash the Lid
Disassemble the lid parts like the sealing ring and anti-block shield. Wash these components and the lid itself with warm, soapy water. Rinse thoroughly and allow them to air dry.
Wipe Down the Exterior
Use a damp cloth to wipe down the exterior of the Instant Pot. Avoid getting water into the housing or any electrical components.
Inspect the Sealing Ring
Look for any food particles or residue on the sealing ring. Clean it meticulously to maintain its performance and longevity.

Weekly Maintenance
Deep Cleaning the Steam Release Valve
Remove the steam release valve and clean it with a brush to ensure no food particles are causing blockages. A blocked valve can affect your Instant Pot’s performance, leading to undercooked or unevenly cooked meals.
Clean the Condensation Collector
Detach and clean the condensation collector. This small task often gets overlooked but is crucial for preventing mold and unpleasant smells.
Inspect the Heating Element
The heating element should be free of food particles and residue. Wipe it gently with a dry, soft cloth to keep it in good working condition.
Check the Anti-Block Shield
Remove the anti-block shield and clean it thoroughly. Make sure it’s free from any build-up that could block the steam.
Monthly Care Tips
Descale with Vinegar
Vinegar helps remove mineral deposits that can build up over time. Fill the inner pot with a mixture of one cup of vinegar and three cups of water, set the Instant Pot to ‘Steam’ and let it run for five minutes. Let it cool, discard the solution, and rinse the inner pot.
Inspect the Sealing Ring for Wear and Tear
Monthly inspections of the sealing ring can help you spot any wear or tear. Replace it if you notice any signs of damage to ensure your Instant Pot stays airtight.
Lubricate the Lid
A small amount of food-grade lubricant on the lid’s gasket can help keep your Instant Pot functioning like new.
Check Your Accessories
Inspect accessories like steamer baskets and trivets for any signs of wear. Clean them thoroughly to avoid buildup that could affect their performance.

Seasonal and Occasional Maintenance
Check for Firmware Updates
If your Instant Pot is a smart model, check for firmware updates periodically. These updates can improve performance and introduce new features.
Replace the Sealing Ring and Components
Sealing rings typically need to be replaced every 12-18 months, depending on usage. Other components like the anti-block shield or condensation collector might also need replacing to ensure optimal performance.
Detailed Component Inspection
Seasonal deep dives involve checking all components, including the exterior casing and internal wiring. If you’re not comfortable doing this yourself, consider professional maintenance.
How to Handle Stubborn Stains and Odors
Dealing with Burn Marks
For stubborn burn marks, create a paste from baking soda and a small amount of water. Use a non-abrasive sponge to scrub the marks gently.
Neutralizing Odors
Odors can linger in your Instant Pot, particularly in the sealing ring. Soak the sealing ring in a mixture of one part vinegar and one part water for 12-24 hours, then rinse thoroughly and air dry.
Using Lemon and Baking Soda
For particularly stubborn smells, place lemon slices and a couple of tablespoons of baking soda in the inner pot. Fill with water, set to ‘Steam’, and let it run for a few minutes. This mixture can help neutralize odors effectively.

Pro Tips for Long-Term Care
Store the Lid Separately
Store the Instant Pot lid separately from the base to ensure proper ventilation, which can help to prevent odors and mildew.
Avoid Abrasive Cleaners
Always use gentle, non-abrasive cleaners. Harsh chemicals or rough scrubbing pads can damage the surface and internal components.
Use a Silicone Sealing Ring for Different Foods
Consider having multiple sealing rings—one for savory dishes and one for sweet ones. This practice can help prevent flavor transfer between meals.
Regularly Update Your Knowledge
The world of Instant Pot evolves with new tips, tricks, and recipes coming out regularly. Keeping yourself updated can help you make the most of your appliance.
| Task | Frequency | Recommended Action |
|---|---|---|
| Basic Cleaning | After Every Use | Wash inner pot, lid, and sealing ring |
| Deep Cleaning | Weekly | Clean steam release valve, condensation collector |
| Descaling | Monthly | Run a vinegar-water solution cycle |
| Sealing Ring Inspection | Monthly | Check for wear and tear |
| Lubrication | Monthly | Apply food-grade lubricant to lid gasket |
| Firmware Updates | Seasonal/Occasional | Check and update if necessary |
| Sealing Ring Replacement | Every 12-18 Months | Replace old sealing ring |
FAQs
Can I Put Instant Pot Parts in the Dishwasher?
Yes, most parts like the inner pot, sealing ring, and lid components are dishwasher safe. However, always refer to your user manual for specifics.
How Often Should I Replace the Sealing Ring?
Typically, sealing rings should be replaced every 12-18 months, but if you notice any signs of wear or tear, replace them sooner.
Can Mold Grow in My Instant Pot?
If you don’t clean and dry your Instant Pot properly, mold can indeed grow. Always ensure all parts are dried thoroughly before reassembling and storing.
Why Does My Instant Pot Smell Even After Cleaning?
Persistent odors are common but can be neutralized with a vinegar-water soak or a lemon and baking soda steam cycle. Sometimes, simply airing out the sealing ring can help.
What if the Lid is Hard to Open?
If the lid becomes difficult to open, it could be due to food residues or a deteriorating sealing ring. A thorough cleaning or a new sealing ring should resolve the issue.
Can I Use Bleach to Clean My Instant Pot?
Using bleach is not recommended. Opt for natural, food-safe cleaning agents like vinegar or baking soda to ensure safety and effectiveness.

Conclusion
Keeping your Instant Pot clean and well-maintained not only extends its lifespan but also ensures you can enjoy delicious, hassle-free meals every time. By following these guidelines, you’ll be able to keep your Instant Pot sparkling clean, safe to use, and functioning at its best for years to come. Happy cooking!


